
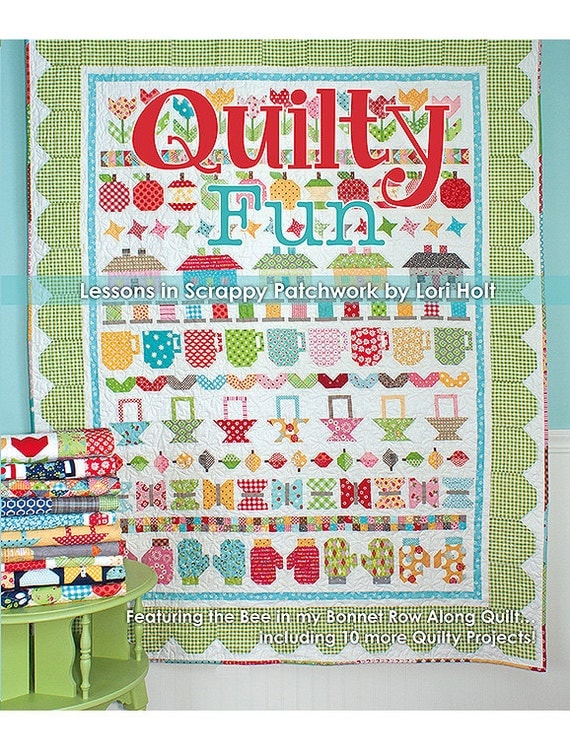

With two rows finished, I am in love with this quilt!

I'll get on to the tutorial in a minute, but first I want to show you something exciting:
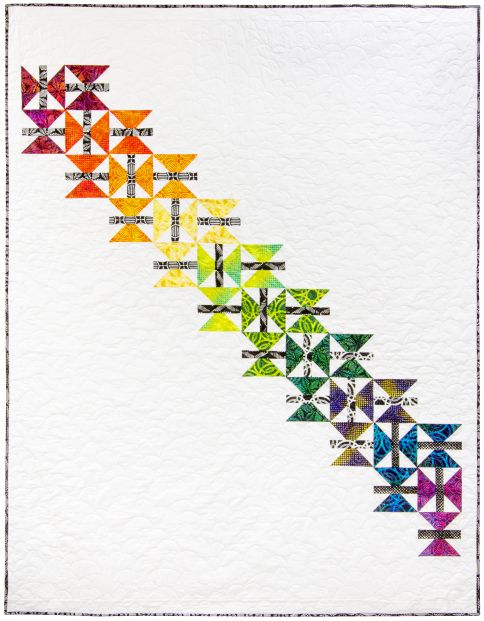
This quilt is "Hope Takes Flight," designed by my friend Melissa, who blogs at We Shall Sew. The pattern will be available free from Robert Kaufman in March. I used Mellie's technique to make the butterfly row for my Quilty Fun. It is just the most clever technique I've ever seen -- be sure to watch for the free pattern!
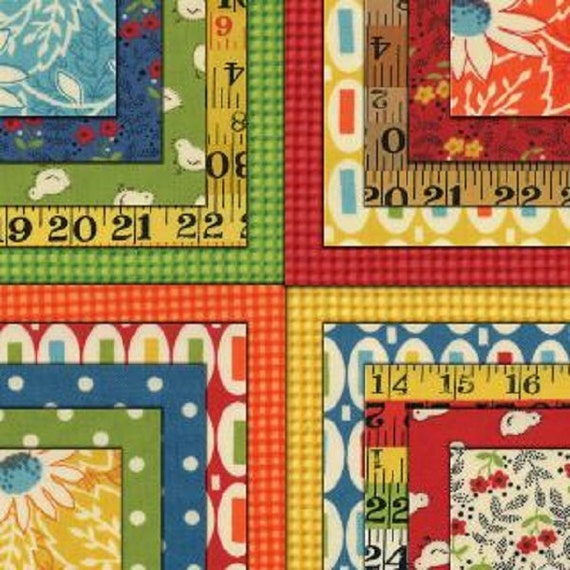
The next row is four patches. Lori has an unusual method to make scrappy four-patches, but I have to admit I prefer my Crosscut 4-Patch Square in a Square ruler from Jodi Barrows.

Here is the link to my tutorial for using this ruler.
When I'm making lots of four-patches that are the same, I like to layer the two pieced strips, then cut. Like this:

The place the ruler so the center line matches up with the seam and cut:

A good trick to remember when piecing is to have the seam facing away from you and on the top layer. That way, the seam is forced to "nestle" and will be perfectly aligned.

To make the block lie flat, make a "mini" four-patch on the seam side of the block.. like this:
- After stitching the both two-patches together into a four-patch, look at the seam you just stitched.
- Where the two seams intersect, there are three or four stitches to the end of the seam perpendicular to the one you just sewed. Pick out those stitches to the seam line that crosses them.
- Now place the four-patch on the ironing board seam-side up and "wiggle" the center with your finger. It will open up and you can press it flat on the wrong side.

Extra credit if your nail polish matches your fabric!









 \
\


