Well, something was finished this week, but it's not a quilt. It's our trip to Seattle to visit family and the Pacific West Quilt Show -- and a few quilt shops, of course.
I'll report on the Seattle-Tacoma-Peninsula quilt shops tomorrow, but today, it's all about the quilts!
I only took photos of the quilts I thought I would like to make myself. So I guess this post reveals my "quilty personality."
The first quilt really must be seen in person to appreciate. Except for the blue background, it is made up entirely of selvages!
"Blue Zinger Selvage Quilt" was made by Virginia Anderson of Shoreline, WA. She reports she saved selvages "for several years" to make this quilt. I've never wanted to make a selvage quilt before, but looking at this
one, I've decided to start saving my selvages instead of crocheting them
into rag rugs.
"Hypnotic" was made by Melody Crust of Kent, WA. She says she "makes quilts that celebrate life." This one features my favorite color, orange. DH was disappointed to see that the blue and white squares were printed fabric, not pieced. But the effect is the same!
This quilt reminds me of Idaho, because it represents Larch trees. In Idaho, we call this deciduous conifer a "Tamarack." In spring, it is a lovely soft chartreuse. Come Fall, it turns golden and loses its needles. "Larch in Spring" was made by Heather Waldron of Mt. Vernon, WA.
This quilt made my fingers itch to get into my large collection of Kona cotton solids! Don't you just love the variety of greens, sparked by red and orange? Dorothy LaBouef of Edmonds, WA cut the leaf shapes freeform to make the blocks of "Leaf Quilt."
This is the quilt I really want to make. Katie Kennedy of
Bonney Lake, WA and Pam Seaburg of Bothell joined forces to piece "Mt.
Rainier." I love the way they added splashes of red "wildflowers" in
the green triangles.
I confess, the last quilt isn't one I really want to make. I photographed it because I am planning a quilt using the Easy Dresden ruler. All the Dresdens in this quilt are made of various polka dots. Ann Rindge of Vashon, WA added appliques of flowers, leaves and bees to "Miss Dottie Dresden."
The show was held at the Tacoma Convention Center in downtown Tacoma. Tacoma has really changed since we left there in the early 90s . Downtown is now chockablock with cool little shops, museums and restaurants. The view from the convention center is incredible -- and the Mountain was out! Can you believe I took this photo from inside the convention center using my little Fuji point-and-shoot camera?
When Elder Son was little, he spent his days at University Childcare at Pacific Lutheran University. For some (stupid) reason, they showed a movie of the 1980 Mt. St. Helens eruption to the preschool class. The next time the "Mountain was out," he panicked, crying "it will explode and throw hot rocks on us and we'll all die!" Now the towns in the path of the Mountain have evacuation plans in case the Mt. Rainier erupts, but I hope it doesn't for another million years!
Come back tomorrow for the shopping report on Saturday Stash.
From the desk of your
Friday, August 31, 2012
Monday, August 27, 2012
Another Mystery Monday
Funny that I don't really like to read mysteries, but I love to sew mystery quilts!
The next one, hosted by Ruth's Stitchery, started a couple of months ago. I am seriously behind. I have step one cut out, and my fabrics selected, and that's it.
I'm doing this one "scrappy," because, you know, "why use three fabrics when you can use thirty?"
As with most mystery quilts, this one requires lights, mediums and darks (although it also requires a medium-light and a medium-dark).
Here are my lights:
Here are my mediums:
Here are my darks:
Really, the background color on all these fabrics is black. It seemed no matter what lighting I chose, they photographed brown. You'll just have to take my word for it, they are darks.
And here is step one cut out:
I'm excited to get sewing on this mystery. Needless to say, this is not my usual style of fabric -- it's all Civil War Reproductions left over from my Farmer's Wife blocks. I know just who will receive this quilt as a birthday gift next May (hint hint)!
From the desk of your
Sunday, August 26, 2012
Sunday is for Scrap Vomit
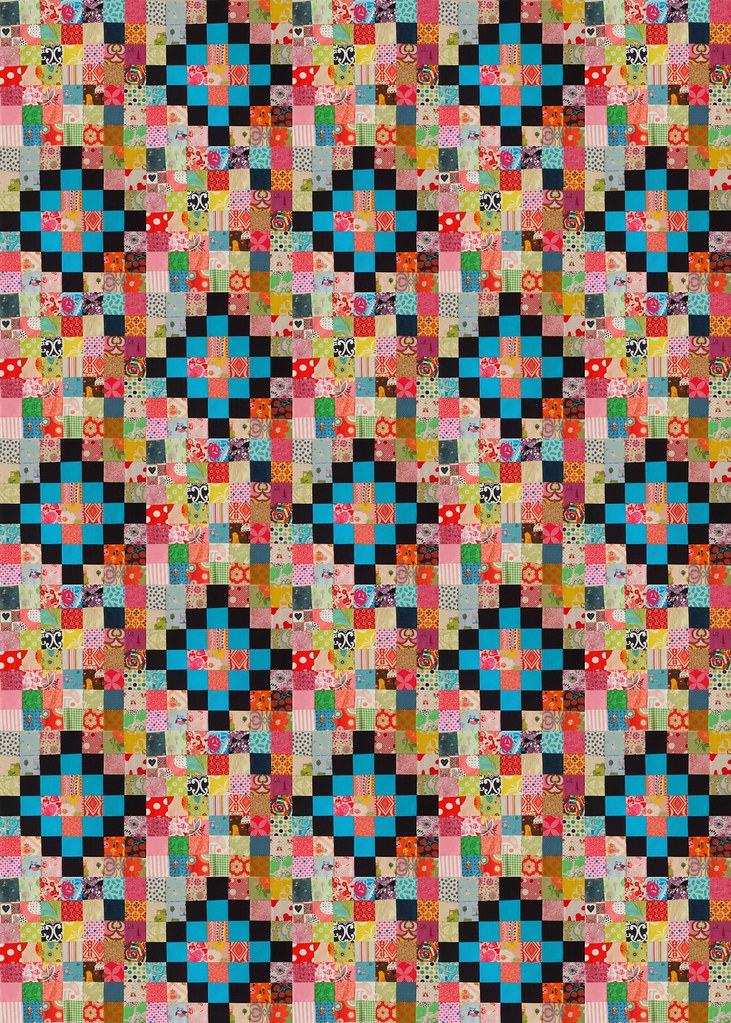
In an ongoing (probably vain) attempt to reduce the scrap collection, I have decided my "Leaders and Enders" project for the rest of this year will be a "Scrap Vomit" quilt.
Now I know that sounds awful, but the SV quilts I've seen look beautiful!
The original design and QAL is from Katy of "monkey do." Katy is probably the most fun blogger you'll ever read -- she is from the North of England and has lots of tattoos. Here is a photo of her original "Scrap Vomit" quilt:
and here is the link to the QAL. Even though the QAL is two years old, people are still making this quilt!
I love the color of Katy's "B" block, so I copied her. I used my June Tailor "Shape Cut" ruler to cut all my blue, black and red squares. I love this ruler, it is absolutely the fastest way to cut a lot of 2 1/2" squares. My blue fabric is Kona "Peacock," the red is Kona "Red" and the black is my favorite Michael Miller blacker-than-black "Jet Black.
Here is a quick mini-tutorial on using the Shape Cut ruler (or you can click here to view the YouTube video).
Fold your fabric lengthwise twice, so it is about 11" wide and four layers deep. Place the shape cut ruler on the fabric so that the "0" line is on top of the fold, and the vertical "0" line is just to the right of the left end.
Notice the little orange tabs at 0, 2.5, 5, 7.5 and 10? That's so I don't accidentally cut one strip 2" wide -- this would be the voice of experience!
Continue across the length of your fabric, or until you have as many strips as you need. Then unfold the strips once (so they are two layers deep) and stack them three high (now you will have six layers of fabric). Place them on the cutting board horizontally and cross-cut across the full length of the fabric. Here you can see that I have four stacks of three strips each:
Et voila! A whole pile of 2 1/2" squares! I counted them out in stack of 8 each (each block needs 8 solid blue squares).
If you read Katy's tutorial, you will see she has a clever way to put together the blocks so the blue, black and red solids are in the right place. Since I'm doing mine as "Leaders and Enders," I will have to lay them out next to the sewing machine as I get pieces sewn together.
I did make a sample of each block, Block "A" and Block "B," just to hang above my machine to motivate myself!
Each "A" block takes 49 2 1/2"squares, each "B" block takes 28 -- wonder how long it will take to make a dent in the 2 1/2" square scrap drawer?
From the desk of your
Subscribe to:
Posts (Atom)